Operating Instructions
Vehicle
Page4-13
Crestline
Manual
3/15/2010
Coach
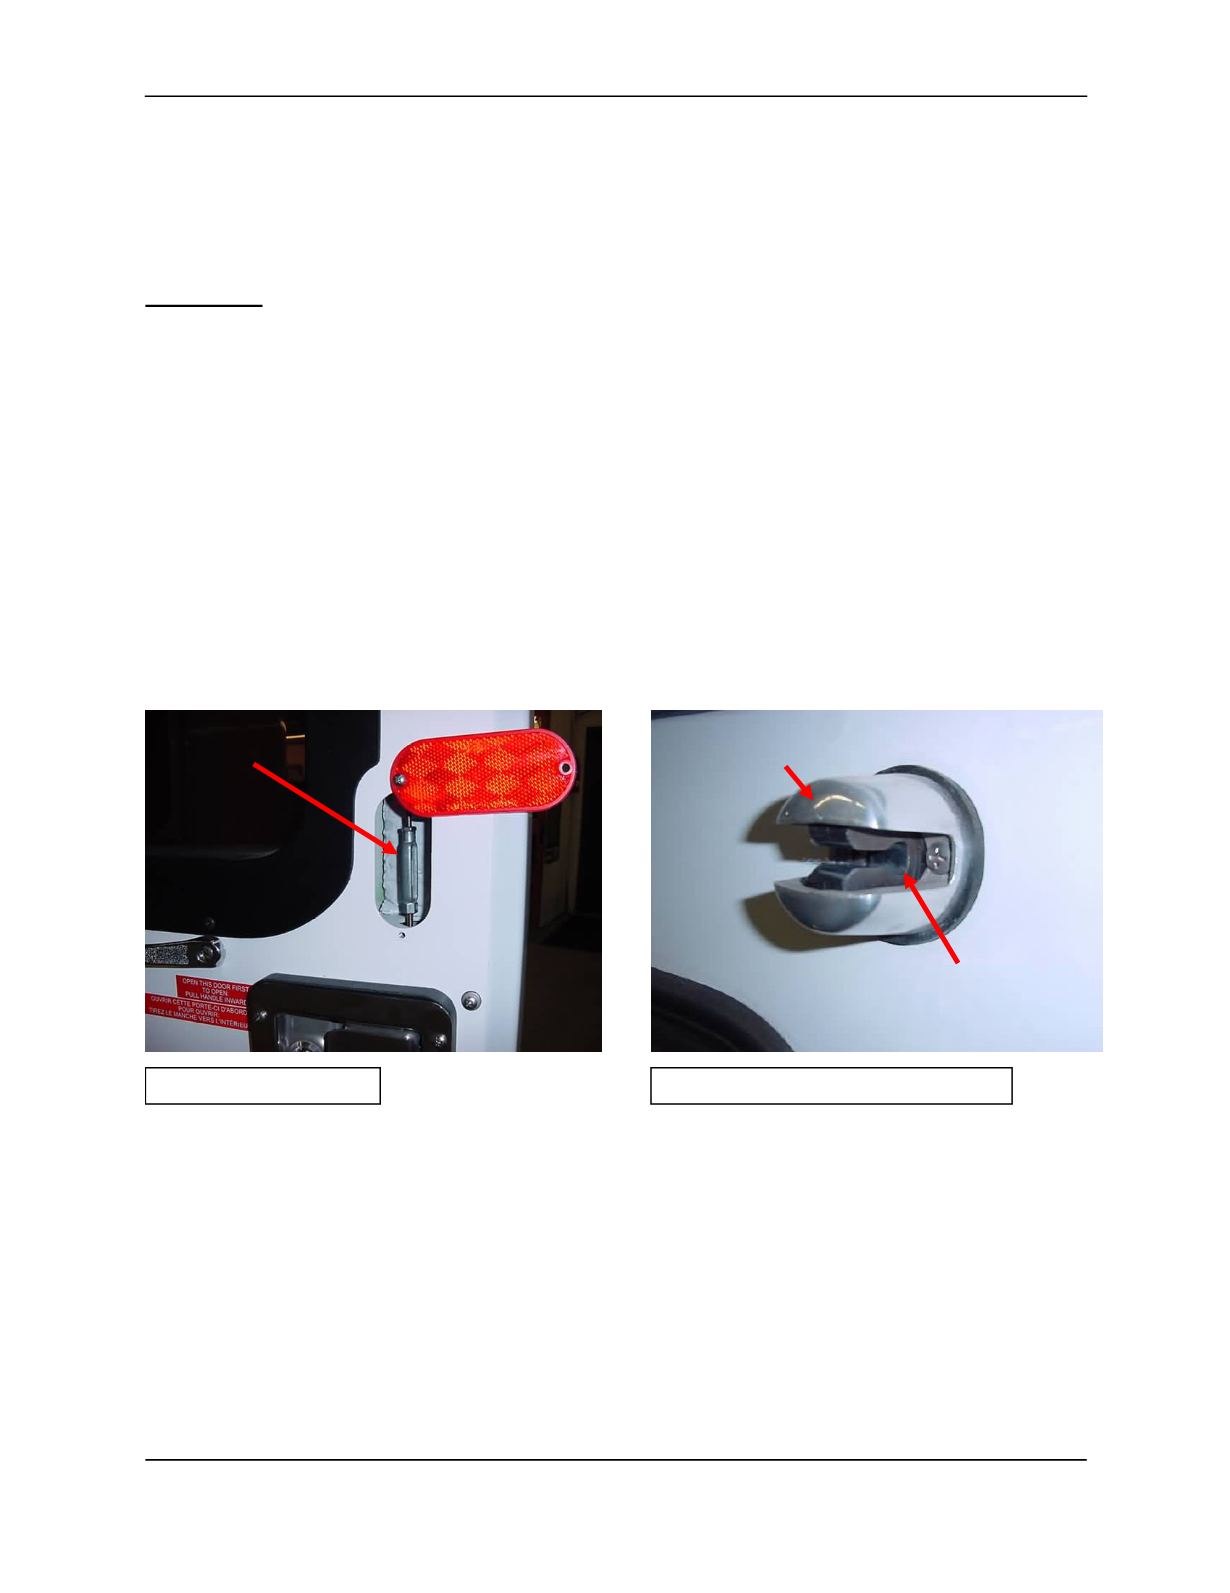
Doorstop / grabber rubbers (Fig5)must alsobe lubricated everyweek. If they arenot kept lubricated, the
rubber gets dryand then bunches upandgets pushedout of place as themetal ringattempts to slide into
it.
Note: Donot useWD40on grabbers.
Adjustment:
When thedoors are closed properly, the rotary latches shouldalsobe closed to their secondposition, and
at the same time thedoor should seal properly, and closewith reasonableease. Doors should be close
tobeing flushwith the doorjambs. The striker bolts (or pins) canbemoved in or out to facilitate this.
Threaded rods link thepaddle latches to turnbuckles, and from the turnbuckles to the rotary latches.
These rods release (open) the rotary latch, as thepaddle latch is pulled open. Over time, the rodsmay
need to beeither lengthened (or shortened) by adjusting the turnbuckles. If thereare two rotary latches in
thedoor, it is best to adjust the rods so that the rotary latches open simultaneously as thepaddle latch is
beingpulled open. Ideally, thepaddle latch should beapproximately halfway pulledout when the rotary
latches release.
Toadjust the latchingmechanism:
a. Remove the reflector(s) on the insideof the door.
b. Loosen the nut located above (or below) the turnbuckle(s).
c. Turn the turnbuckle(s)¼ turnat a time. Often this is sufficient.
d. Tighten thenut(s) back up.
e. Synchronize the latches.With door openmanually close rotary latches andpull paddle latch
slowly. Doboth latches openat the same time? If not readjust turnbuckles tohave them release
at the same time.
f. If the latches do not openat the same time, and if they donot openat approximately thehalf way
point of the paddle stroke, return to step b.
g. After latches areadjusted properly,make sure the jambnut is tightenedproperly, and re-attach
the reflectors.
Turnbuckle
Fig 4: Turnbuckleaccess
Fig 5: Cast doorstop / rubber insert
Cast doorstop
Rubber insert


