Remove andReplaceA/C-HeaterAssembly
Page 2 of 18
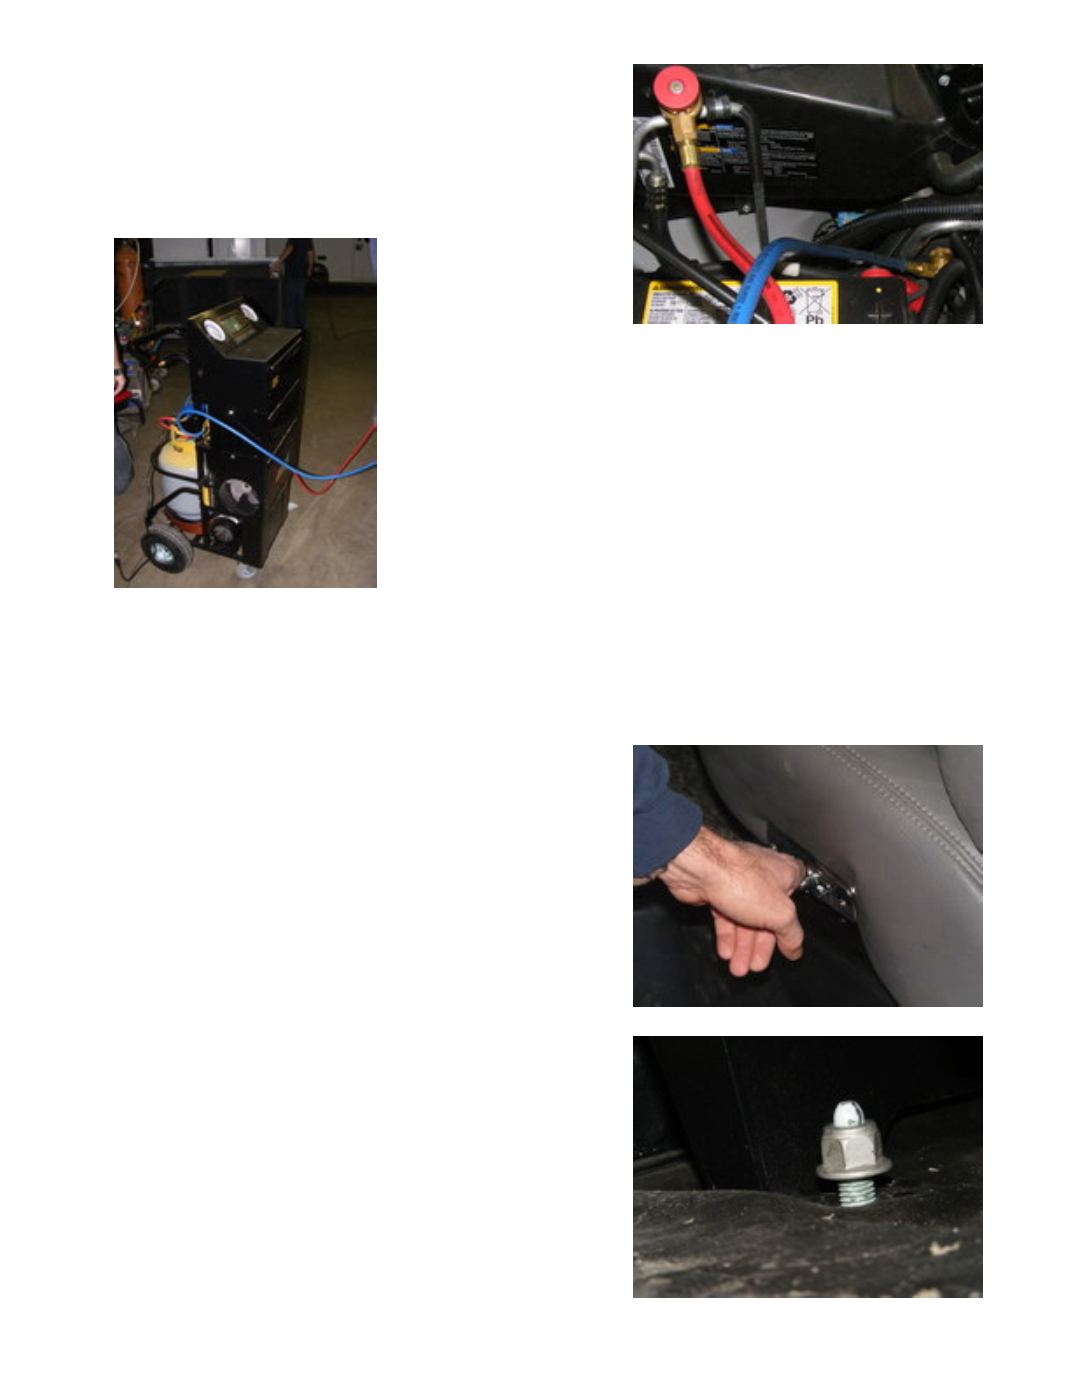
DischargeAir ConditioningSystem
•
Remove the protective caps from the fitting on the
A/C lines under the hood
•
Follow themanufacturer’s instructions for hooking
up to and discharging the system
•
The rest of the disassembly canproceedwhile the system is
discharging
o
Verify that the system is in a safe state before
disconnecting theA/C lines from theA/C unit
DisassembleCabComponents
Youwill need to remove the driver’s seat, the headpads, the upholstered side panels, the headliner, the
driver’s sideB-Pillar pad, and the hose/wire access panel. Once you have the access panel removed, youwill
need to cut thewire ties and remove the P-clamps that secure the hoses andharnesses
Remove theDriver’sSeat
•
Open the driver’s door so that you canwork
comfortably fromoutside the cab
•
Use the seat controls tomove the seat all theway
forward
•
Use an 18mmdeep socket and appropriate socket
wrench to remove the nuts from the back seat hold-
downbolts


